
If you’re an Apple iCloud user researching alternatives for backing up your photos and videos, you’ve come to the right place. In this blog post, we’ll compare four popular cloud storage services: pCloud, Icedrive, Sync.com, and Internxt.
We’ll cover the key features of each service, including storage space, pricing, encryption, and additional features. We’ll also provide some tips on choosing the right cloud storage service for your needs.
By the end of this blog post, you’ll have a good understanding of the different cloud storage services available and which one is best for backing up your photos and videos.
Reddit is a great place to learn more about iCloud storage issues. Here are a few Reddit posts that I think you’ll find interesting. Check them out and join the discussion!
Here are a few reasons why you might want to consider switching from iCloud to a cloud storage service like pCloud, Icedrive, Sync.com, or Internxt:
- More storage space: iCloud only offers 5GB of free storage, which isn’t enough for most users. Cloud storage services typically offer more free storage space, and they also offer paid storage plans to choose from (50GB of storage starts from $0.99/month).
- More affordable pricing: iCloud’s paid storage plans can be expensive, especially if you need more storage space. Cloud storage services offer more affordable pricing for paid plans with more generous storage capacity.
- More features: Many cloud storage services offer additional features that iCloud doesn’t, such as file encryption, file sharing, and built-in media players.
- More flexibility: Cloud storage services are vendor-agnostic, meaning you can access data from any device or platform. iCloud is a proprietary service, meaning your data is locked into Apple’s ecosystem.
If you’re interested in learning more about the different cloud storage services available and which one is best for backing up your photos and videos, keep reading!
Comparison of pCloud, Icedrive, Sync.com, and Internxt
Here is a quick comparison of pCloud, Icedrive, Sync.com, and Internxt:
| pCloud | Icedrive | Sync.com | Internxt | |
|---|---|---|---|---|
| Free storage | 10GB | 10GB | 5GB | 10GB |
| Paid plans | 2TB for $99.99 per year (or lifetime access for $399) | 150GB for $6/month (or $189 for lifetime access) | 2TB for $8/month | 20 GB from $5.49/month, 2TB lifetime plan from $599 |
| Encryption | Yes, AES-256 | Yes, AES-256 | Yes, AES-256 | Yes, AES-256 |
| Zero-knowledge (client-side) encryption | Yes, add-on | Yes | Yes | Yes |
| File versioning | Yes | No | Yes | Yes |
| Two-factor authentication | Yes | Yes | Yes | Yes |
| Mobile apps | Yes | Yes | Yes | Yes |
| Learn more | pCloud review | Icedrive review | Sync review | Internxt review |
Additional features
- pCloud: pCloud offers a number of additional features, such as a built-in music player, pCloud Crypto encryption, and file sharing.
- Icedrive: Icedrive offers a number of additional features, such as a built-in video player and a bandwidth limiter.
- Sync.com: Sync.com offers a number of additional features, such as a built-in office suite and support for custom branding.
- Internxt: Internxt offers a number of additional features, such as end-to-end encryption and support for decentralized storage.
When choosing an iCloud alternative cloud storage service, there are a few things you should keep in mind:
- Storage space: How much storage space do you need? Consider the number of photos and videos you have, and how many you expect to create in the future.
- Features: What features are important to you? Some cloud storage services offer additional features, such as security and encryption, file sharing, and built-in media players.
- Price: How much are you willing to spend? Cloud storage services offer a variety of pricing plans, so you can find one that fits your budget.
How to Back up iCloud Photos and Videos
If you want to back up your iCloud data for exporting to other cloud services like pCloud, Icedrive, Sync.com, and Internxt, you’ll first need to download your data from iCloud and then manually upload it to these services. Here’s a step-by-step guide:
First, Back up and Download your iCloud data
- Via iCloud.com:
- Go to iCloud.com and sign in with your Apple ID.
- Click on each app (like Photos, Notes, or Drive) and manually download your data.
- Via Apple’s Data and Privacy Portal:
- Visit Apple’s Data and Privacy portal.
- Sign in with your Apple ID.
- Choose ‘Request a copy of your data’.
- Follow the instructions to select and download your data.
Back up iCloud Photos and Videos to pCloud
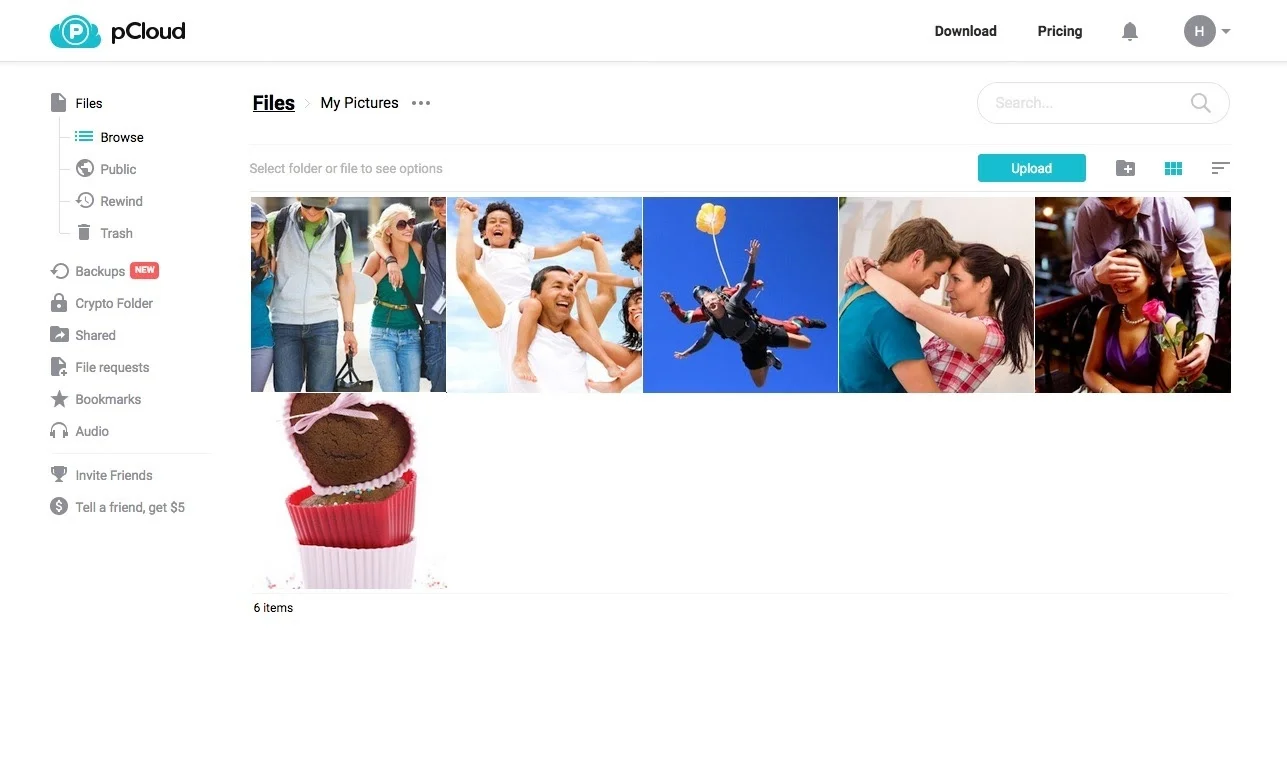
To back up your iCloud data to pCloud, you can use the following steps:
- Create a pCloud account.
- Download and install the pCloud app on your iPhone or iPad.
- Open the pCloud app and sign in to your account.
- Tap the Menu button (three horizontal lines) in the top left corner of the screen.
- Tap Settings.
- Tap Backup.
- Tap iCloud.
- Select the data that you want to back up to pCloud.
- Tap Start Backup.
pCloud will start backing up your iCloud data. The backup process may take some time, depending on the size of your data.
How to export your iCloud photos and videos to pCloud
To export your iCloud photos and videos to pCloud, you can use the following steps:
- Go to the iCloud website and sign in to your account.
- Click the Photos icon.
- Select the photos and videos that you want to export.
- Click the Download button.
- Select the pCloud option from the list of apps.
- pCloud will start exporting your photos and videos. The export process may take some time, depending on the size of your data.
Once your photos and videos have been exported to pCloud, you can import them into your pCloud account by following the following steps:
- Open the pCloud app on your iPhone or iPad.
- Tap the + button in the top right corner of the screen.
- Tap Import.
- Tap Photos & Videos.
- Select the photos and videos that you want to import into pCloud.
- Tap Import.
pCloud will start importing your photos and videos. The import process may take some time, depending on the size of your data.
Tips for beginners
- If you’re new to cloud storage, I recommend starting with pCloud’s free plan. This will give you a chance to try out the service and see if it’s right for you.
- If you have a lot of photos and videos to back up, I recommend using a Wi-Fi connection. This will help to speed up the backup process.
- You can also set up a recurring backup schedule. This will ensure that your photos and videos are backed up automatically on a regular basis.
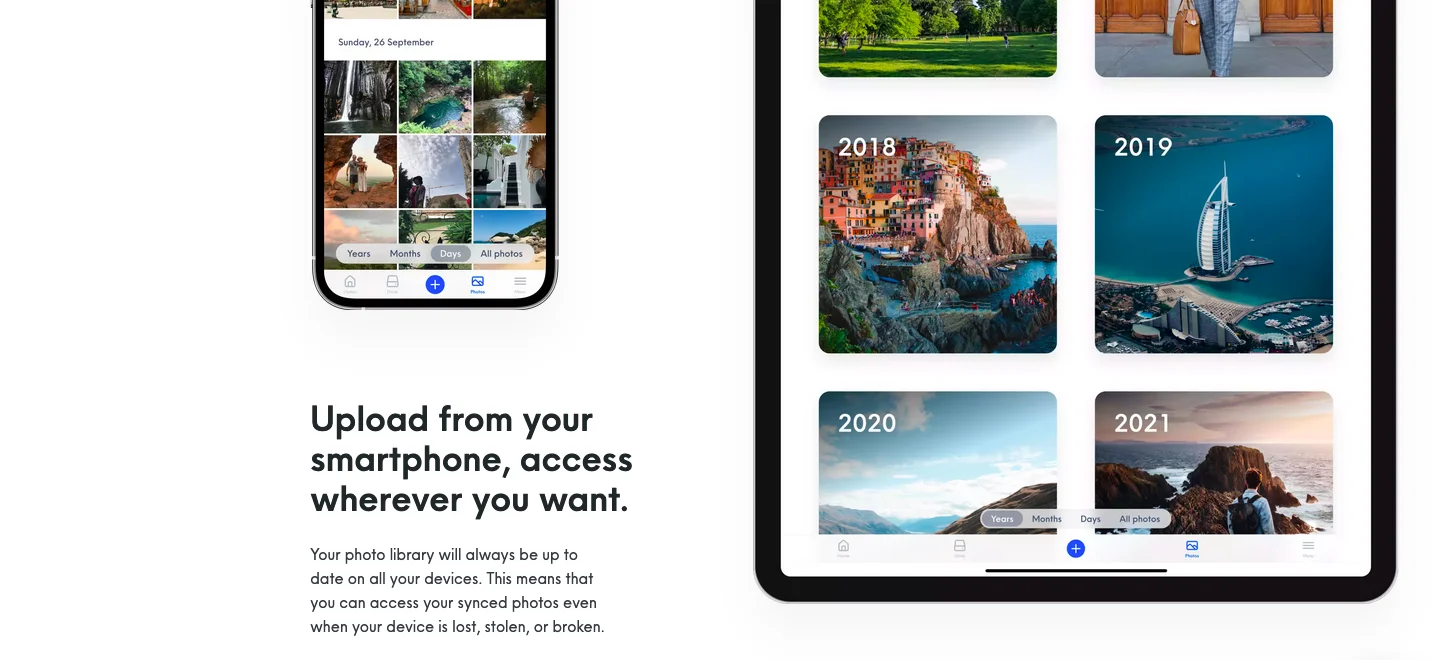
pCloud also has an automatic upload feature on its mobile app. Enabling this feature will instantly upload any photo or video you take on your phone to your pCloud storage.
Secure, efficient, and user-friendly - pCloud offers the best in cloud storage. Today, you can save 50% or more on lifetime plans. Don't miss this limited-time offer to safeguard your digital life for less!
Back up iCloud Photos and Videos to Icedrive
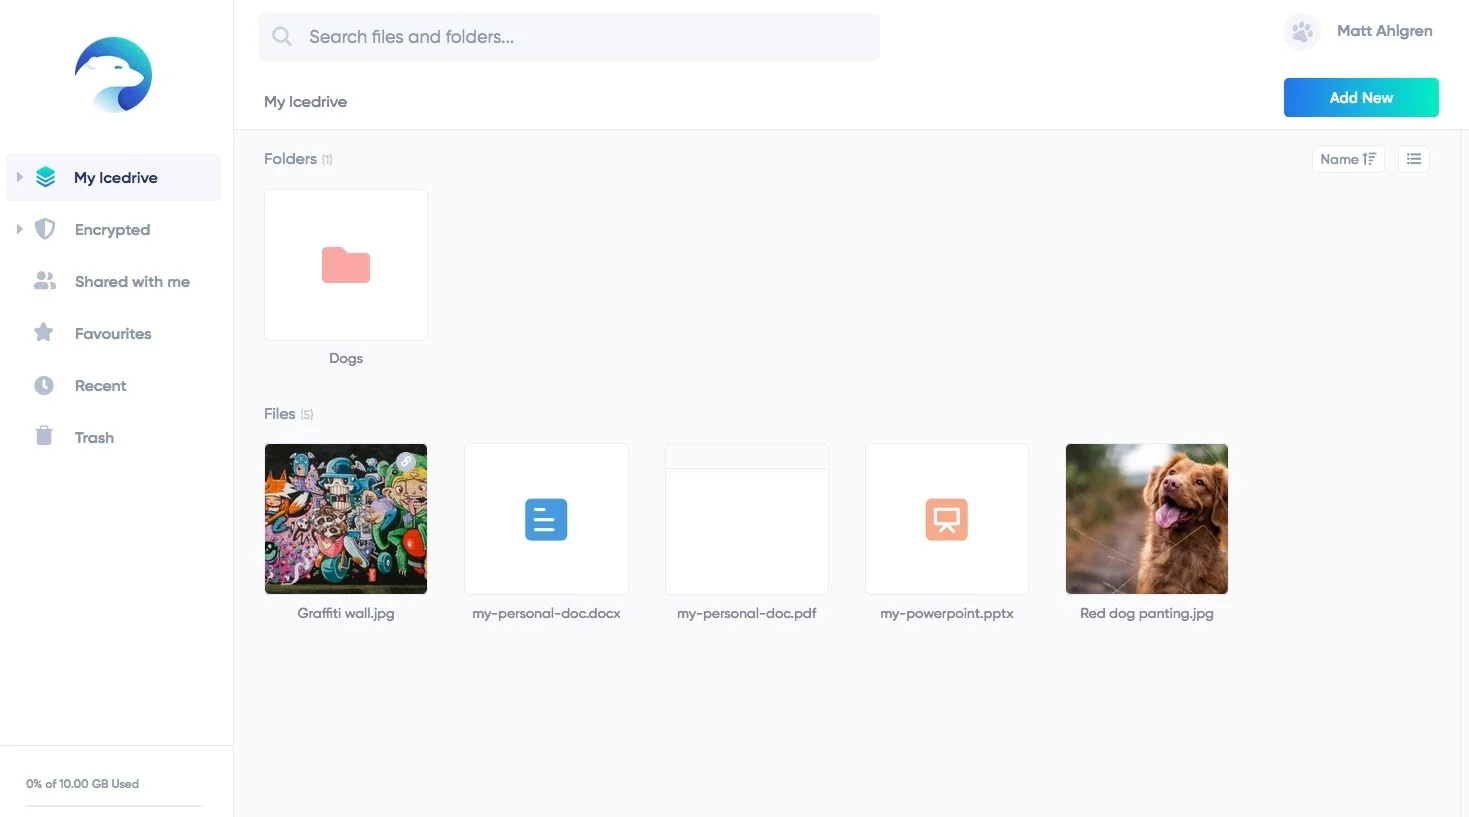
To back up your iCloud data to Icedrive, follow these steps:
- Create your Icedrive account.
- Download and install the Icedrive app on your iPhone or iPad.
- Open the Icedrive app and sign in to your account.
- Tap the Backup button.
- Select the iCloud option.
- Tap the Start Backup button.
Icedrive will start backing up your iCloud data. The backup process may take some time, depending on the size of your data.
How to export your iCloud photos and videos to Icedrive
To export your iCloud photos and videos to Icedrive, follow these steps:
- Go to the iCloud website and sign in to your account.
- Click the Photos icon.
- Select the photos and videos that you want to export.
- Click the Download button.
- Select the Icedrive option from the list of apps.
- Icedrive will start exporting your photos and videos. The export process may take some time, depending on the size of your data.
Once your photos and videos have been exported to Icedrive, you can import them into your Icedrive account by following these steps:
- Open the Icedrive app on your iPhone or iPad.
- Tap the + button in the top right corner of the screen.
- Tap Import.
- Tap Photos & Videos.
- Select the photos and videos that you want to import into Icedrive.
- Tap Import.
Icedrive will start importing your photos and videos. The import process may take some time, depending on the size of your data.
Tips for beginners
- If you’re new to cloud storage, I recommend starting with Icedrive’s free plan. This will give you a chance to try out the service and see if it’s right for you.
- If you have a lot of photos and videos to back up, I recommend using a Wi-Fi connection. This will help to speed up the backup process.
- You can also set up a recurring backup schedule. This will ensure that your photos and videos are backed up automatically regularly.
Back up iCloud Photos and Videos to Sync.com
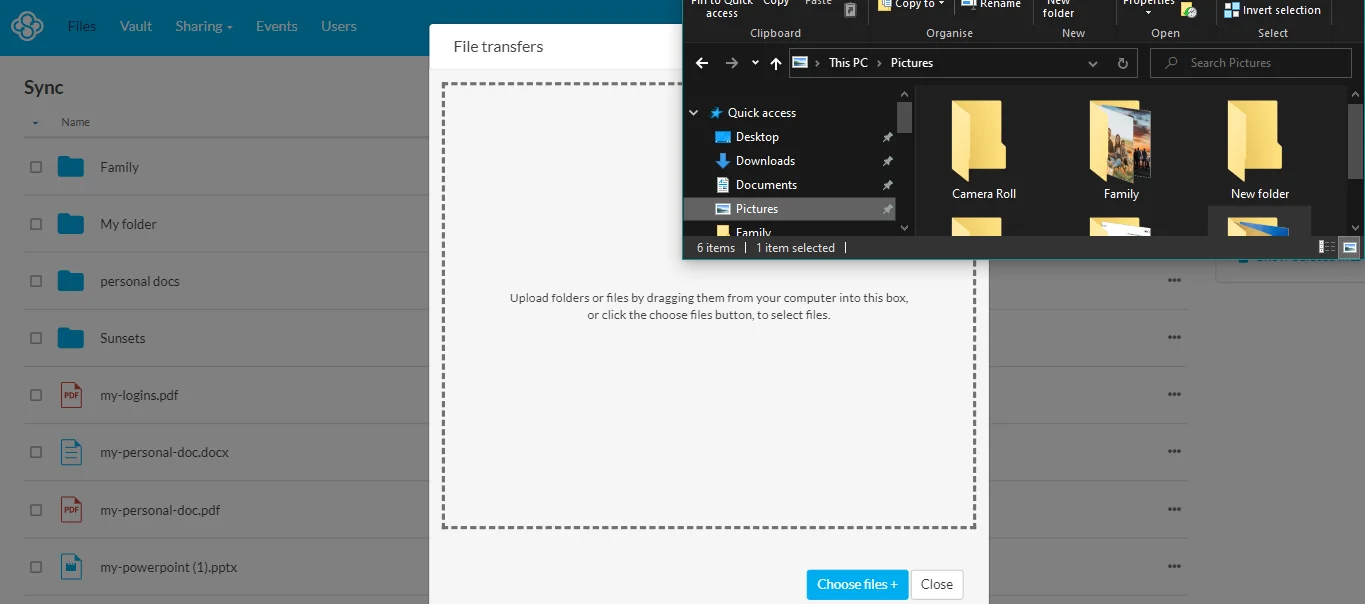
To back up your iCloud data to Sync.com, follow these steps:
- Create a Sync.com account.
- Download and install the Sync.com app on your iPhone or iPad.
- Open the Sync.com app and sign in to your account.
- Tap the Menu button (three horizontal lines) in the top left corner of the screen.
- Tap Settings.
- Tap Backup.
- Tap iCloud.
- Select the data that you want to back up to Sync.com.
- Tap Start Backup.
Sync.com will start backing up your iCloud data. The backup process may take some time, depending on the size of your data.
How to export your iCloud photos and videos to Sync.com
To export your iCloud photos and videos to Sync.com, follow these steps:
- Go to the iCloud website and sign in to your account.
- Click the Photos icon.
- Select the photos and videos that you want to export.
- Click the Download button.
- Select the Sync.com option from the list of apps.
- Sync.com will start exporting your photos and videos. The export process may take some time, depending on the size of your data.
Once your photos and videos have been exported to Sync.com, you can import them into your Sync.com account by following these steps:
- Open the Sync.com app on your iPhone or iPad.
- Tap the + button in the top right corner of the screen.
- Tap Import.
- Tap Photos & Videos.
- Select the photos and videos that you want to import into Sync.com.
- Tap Import.
Sync.com will start importing your photos and videos. The import process may take some time, depending on the size of your data.
Tips for beginners
- Start with a free plan. Most cloud storage services, including Sync.com, offer free plans with limited storage space. This is a great way to try out the service before you commit to a paid plan.
- Use Wi-Fi for backing up large files. Backing up large files, such as photos and videos, can take a long time over a cellular connection. If you have a lot of data to back up, it’s best to use a Wi-Fi connection.
- Set up a recurring backup schedule. This will ensure that your photos and videos are backed up automatically on a regular basis, even if you forget to do it manually.
Back up iCloud Photos and Videos to Internxt
To back up your data to Internxt, follow these steps:
- Create your account with Internxt.
- Download and install the Internxt app on your iPhone or iPad.
- Open the Internxt app and sign in to your account.
- Tap the Backup button.
- Select the Photos & Videos option.
- Tap the Start Backup button.
- Internxt will start backing up your photos and videos. The backup process may take some time, depending on the size of your data.
How to export your iCloud photos and videos to Internxt
To export your iCloud photos and videos to Internxt, follow these steps:
- Go to the iCloud website and sign in to your account.
- Click the Photos icon.
- Select the photos and videos that you want to export.
- Click the Download button.
- Select the Internxt option from the list of apps.
- Internxt will start exporting your photos and videos. The export process may take some time, depending on the size of your data.
Once your photos and videos have been exported to Internxt, you can back them up to your Internxt account by following the steps above.
Tips for beginners
- I recommend starting with Internxt’s free plan if you’re new to cloud storage. This will allow you to try the service and see if it’s right for you.
- If you have a lot of photos and videos to back up, use a Wi-Fi connection. This will help to speed up the backup process.
- You can also set up a recurring backup schedule. This will make sure that your photos and videos are backed up automatically regularly.
Why is Backing up Your iCloud Data Important?
Your Apple iCloud account comes with 5GB of free storage, which may be enough for some users, but not enough for others, especially if you have a lot of photos and videos.
Also, iCloud is a proprietary service, meaning that your data is locked into Apple’s ecosystem. If you ever decide to switch to a different platform, it can be difficult to migrate your data out of iCloud.
Using a cloud storage service like pCloud, Icedrive, Sync.com, or Internxt is a great way to back up your data and protect it from loss or damage. Cloud storage services are also platform-agnostic, meaning that as long as you have internet access you can access your data from any device or platform.
Wrap up
Backing up your photos and videos is an important way to protect your data from loss or damage. Cloud storage services like pCloud, Icedrive, Sync.com, and Internxt offer a convenient, secure, and affordable way to back up your Apple iCloud data.
Get 65% OFF 2TB lifetime cloud storage
From $49.99/yr (Lifetime plans from $199)