
I think you’ll agree when I say: When people talk about blogging, a name such as “WordPress” comes up more often than, say, “Wix” and “Shopify”. And that’s predominantly because many people don’t know Wix and Shopify come with brilliant blogging features.
That’s right, both platforms aren’t primarily known for their blogging capabilities. But they both feature powerful and easy-to-use built-in blogging functionality.
How to use Wix for blogging? How to use Shopify for blogging?
Wix is best known as a fully-fledged website builder that helps you to start a site in record time.

You can create a variety of websites on Wix thanks to tools such as the Wix Editor, Wix ADI, beautiful themes, and the works.
The guys over at Wix start you off with a free plan with the hope you will latch onto paid plans starting at $16/month.
If you choose the free plan, you start with an SSL-ready sub-domain e.g., matt123.wixsite.com/websiterating but you can always purchase a new custom domain or link an existing domain to your Wix site.
Shopify, on the other hand, is a reputable e-commerce platform.
Shopify has a keen focus on helping you launch a powerful online store before your cup of coffee grows cold. The platform ships with an intuitive store builder that’s simply a pleasure to work with.
You can customize a variety of e-commerce themes to achieve the best version of your online store.
A free trial starts you off on an SSL-ready sub-domain e.g. https://websiterating.myshopify.com, but you can always bump up to premium subscription with plans starting at just $29/month.
What most people don’t know is that both platforms have pretty neat blogging features.
That’s right; you can use Wix and Shopify built-in blogging features to run a blog that rivals WordPress or Blogger-powered blogs in your niche.
And in this guide, I show you exactly how to use Shopify and/or Wix for blogging. Share your findings and thoughts in the comment section at the end to contribute to the discussion.
With that out of the way, let’s get to work.
How to Use Wix for Blogging
Let’s start with Wix. How to start a blog on Wix?
My assumption here is you are a beginner, so head over to Wix.com and hit the Get Started button to get the ball rolling.
Creating a New Wix Website
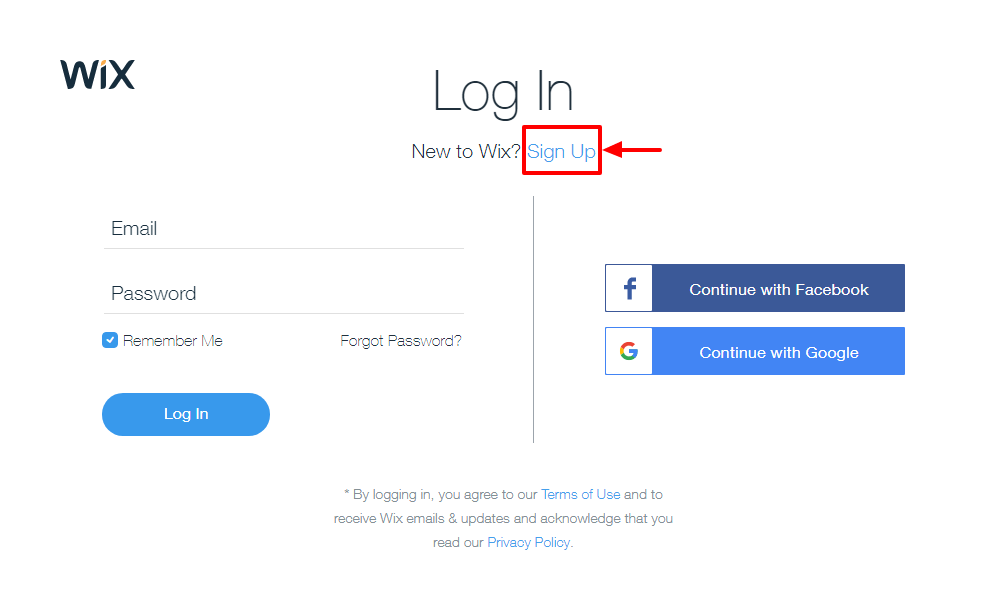
On the next page, you can either choose to log in or signup. In our case, hit the Sign Up link as shown below.
On the signup page, fill out the form with your email and password and click the Sign Up button as shown below.

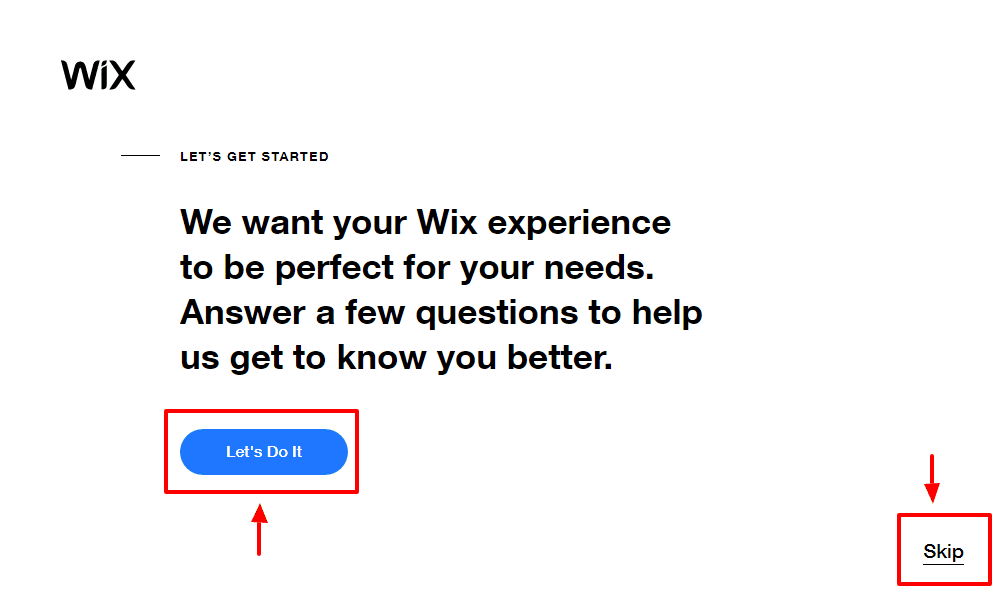
After that, Wix will ask to learn more about your business, but you can skip this part as shown below.
I chose to provide more details because, what’s the harm? The more info I can provide regarding my business, the better an experience Wix can provide.
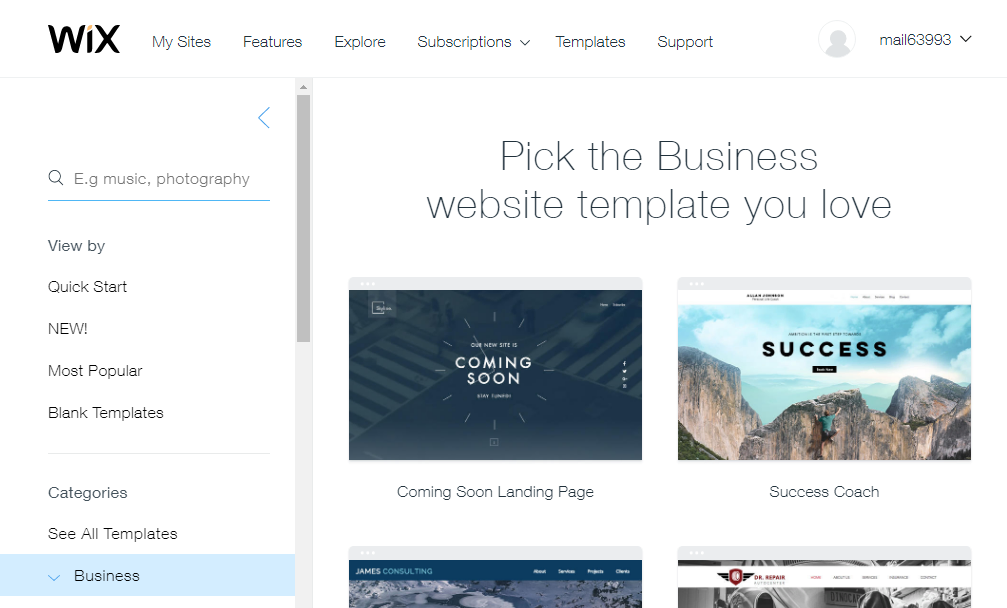
After answering two to three simple questions, you will eventually land on the following page.

As you can see on the page above, you can either choose a template or let Wix ADI create a website for you. ADI is simply an acronym for Artificial Design Intelligence.
The Wix ADI tool creates a website automatically based on the answers you provide to some questions. Choose whichever route works for you; we just need a live site going to create a blog, remember?
For the purposes of this tutorial, I went with a template because I like a hands-on approach. Clicking the Choose a Template link above leads to the Templates page shown below.
On the above page, you can access many templates in various categories. Choose one that suits your needs by clicking the Edit button seen below.
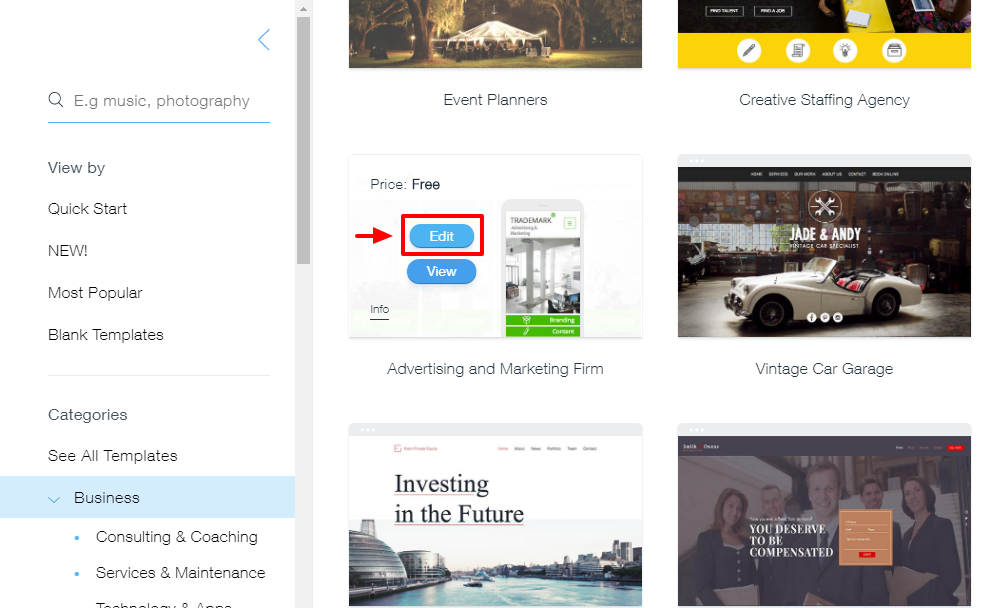
Choosing a template will launch the brilliant Wix Editor in a new tab as we highlight below.
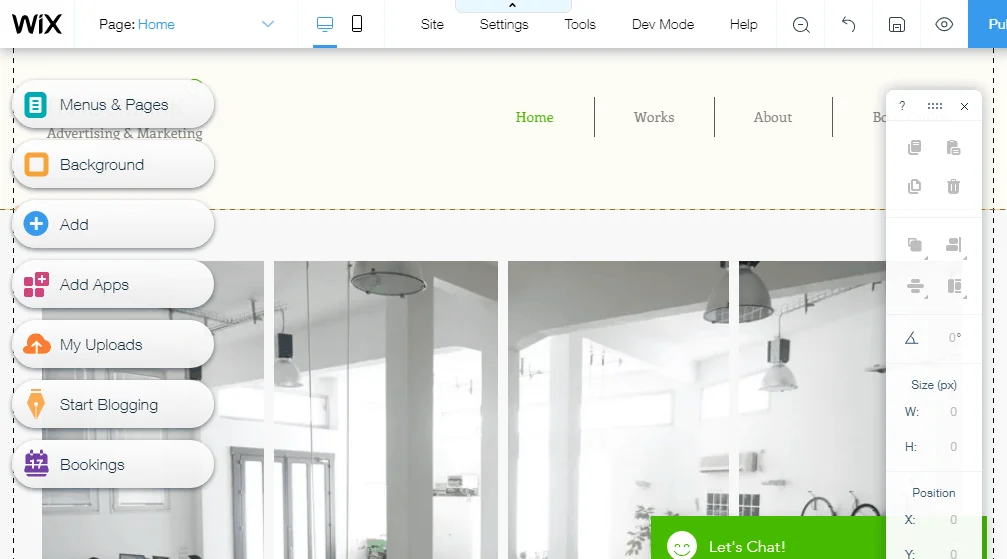
Customize your website as you desire, and once you’re satisfied with the results, hit the Publish button on the top-right side of the editor.
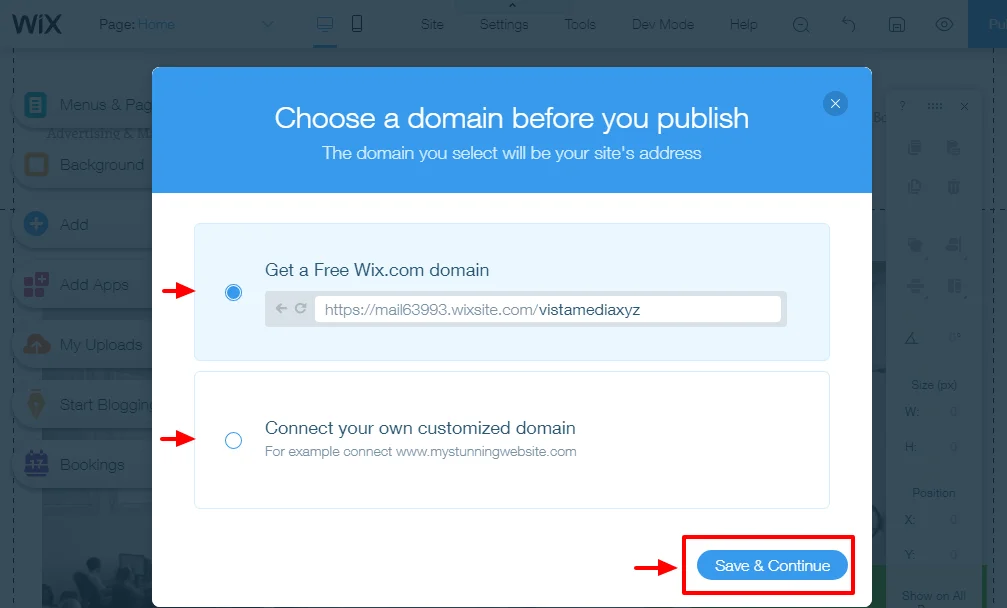
Doing so will bring up a pop-up window that allows you to either 1) get a free Wix.com domain or 2) connect your own custom domain.
For this post, I went with the free Wix.com domain.
After that, hit the Save & Continue button as we detail below.
Next, click the Publish Now link to publish your website or the Done button to return to the Wix Editor as we highlight in the screenshot below.
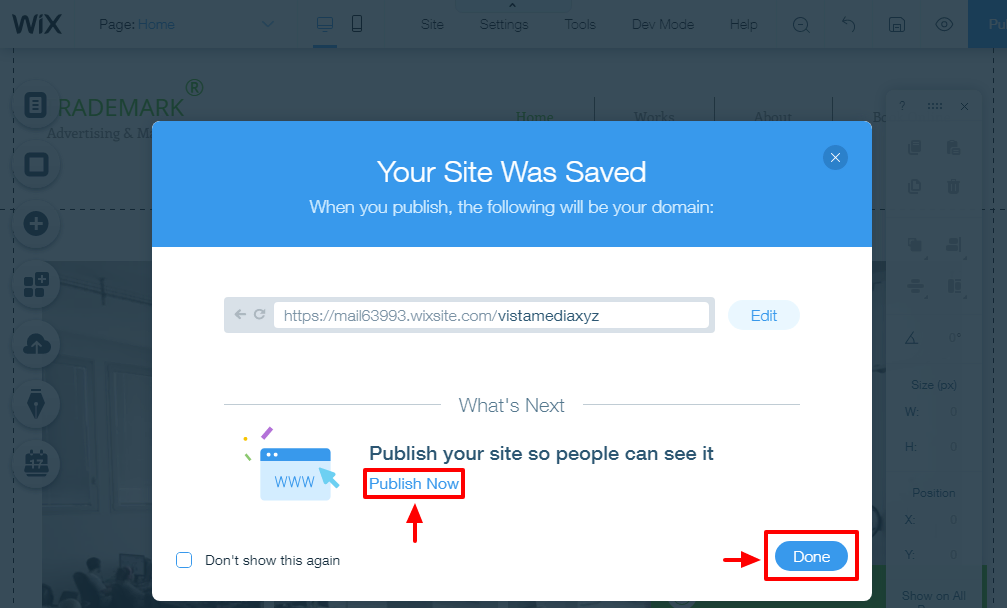
For the purpose of our tutorial, I chose to publish the website, which leads us to the following pop-up.
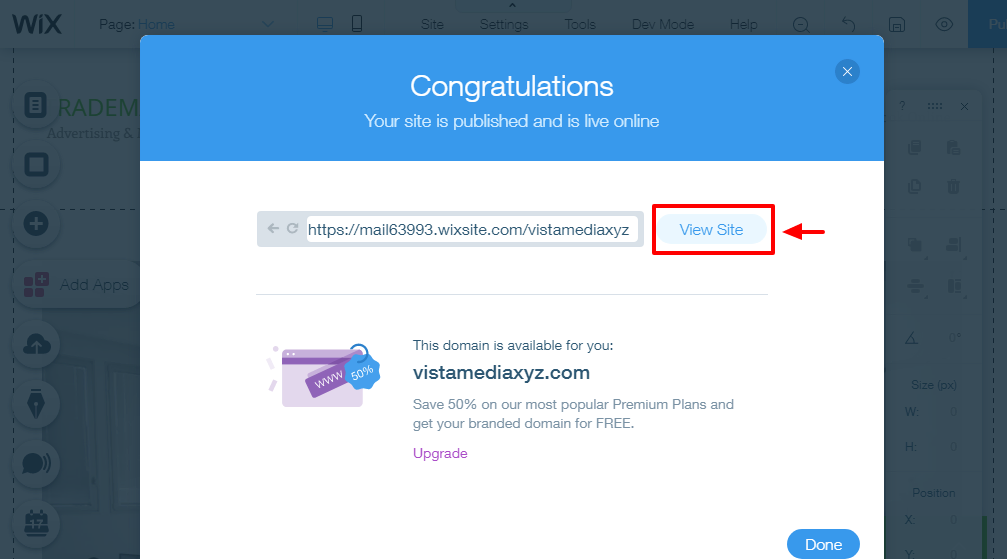
That was fast, right? Click the View Site button shown in the image above to see your brand new website.
Your domain name is something like https://matt123.wixsite.com/websiterating.
Yeah I know it’s long and ugly but it works! Besides, you can always add a custom domain name.
Below, look at the sample site we create without touching a single line of code.
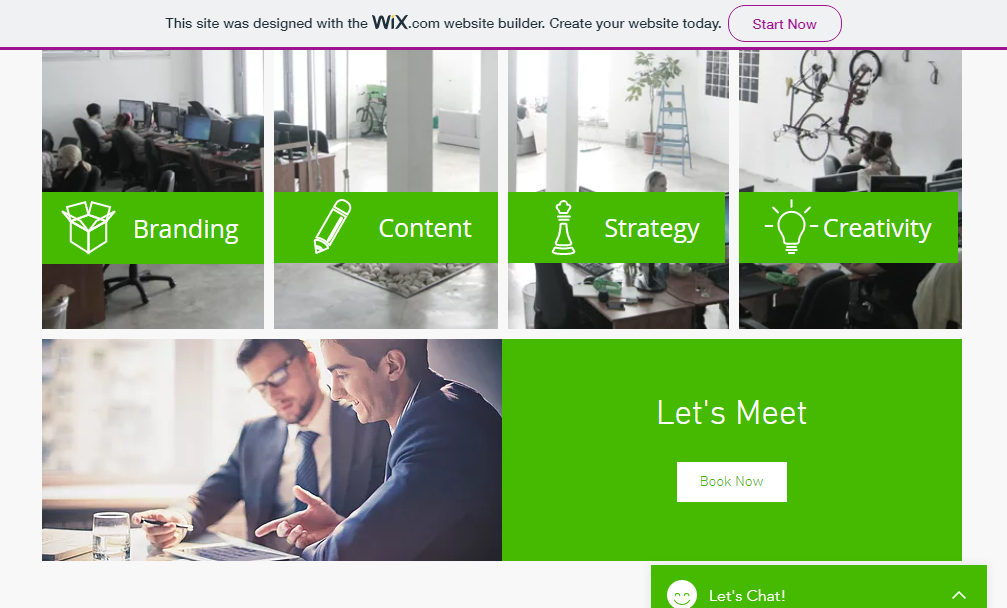
Not bad for about 5 minutes of time. Remember you can customize any Wix template until you drop, so let your imagination run wild.
Still, we are not here to create Wix websites. We are all here to learn more about Wix’s blogging features.
Adding a Blog to Your Wix Website
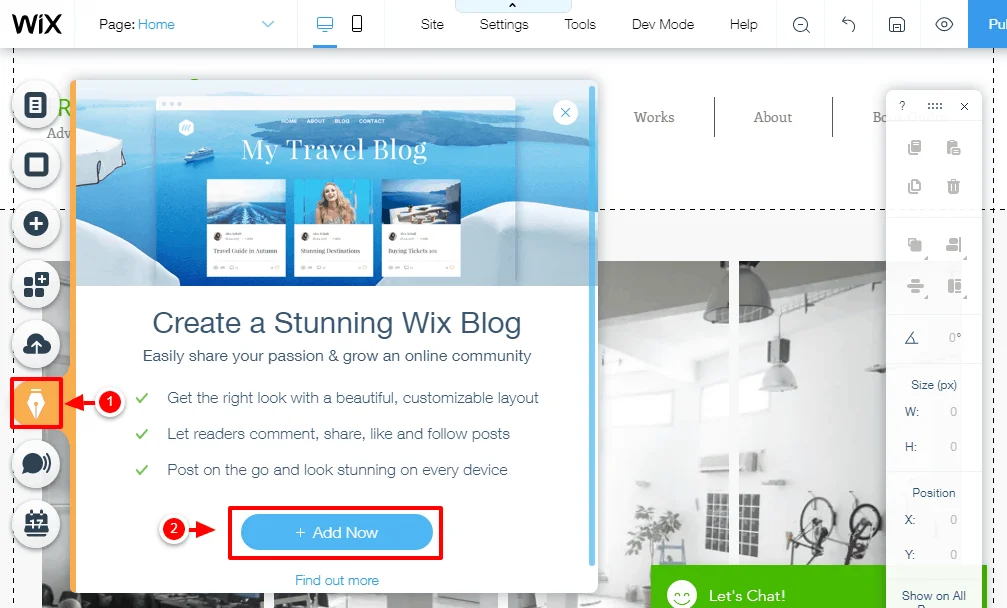
Now that we have a live website, let us add a blog, so you can start sharing your thoughts, news, and updates.
In the Wix Editor (and is this thing beautiful or what?), click on the Start Blogging button and then Add Now as shown in the image below.
Wait out the process to complete, and on the pop-up window that appears, click the Get Started button as we highlight below.
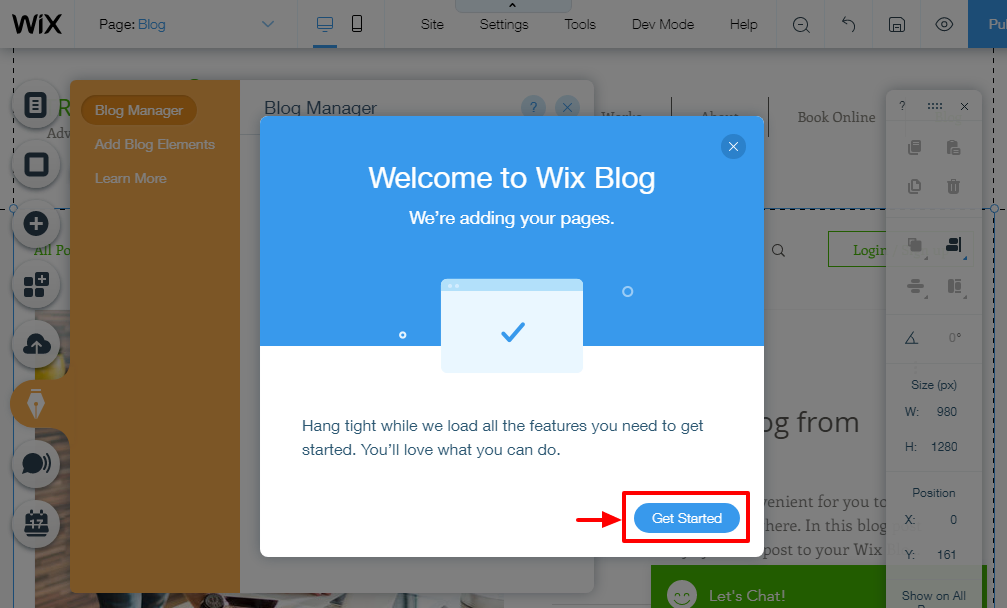
So far so good, everything has been as easy as pie. Having problems? Please don’t hesitate to contact me in the comments. Moving on swiftly.
The Wix Editor is quite the intuitive animal. Clicking on the Get Started button will take you to the Blog Manager slide-in shown below.
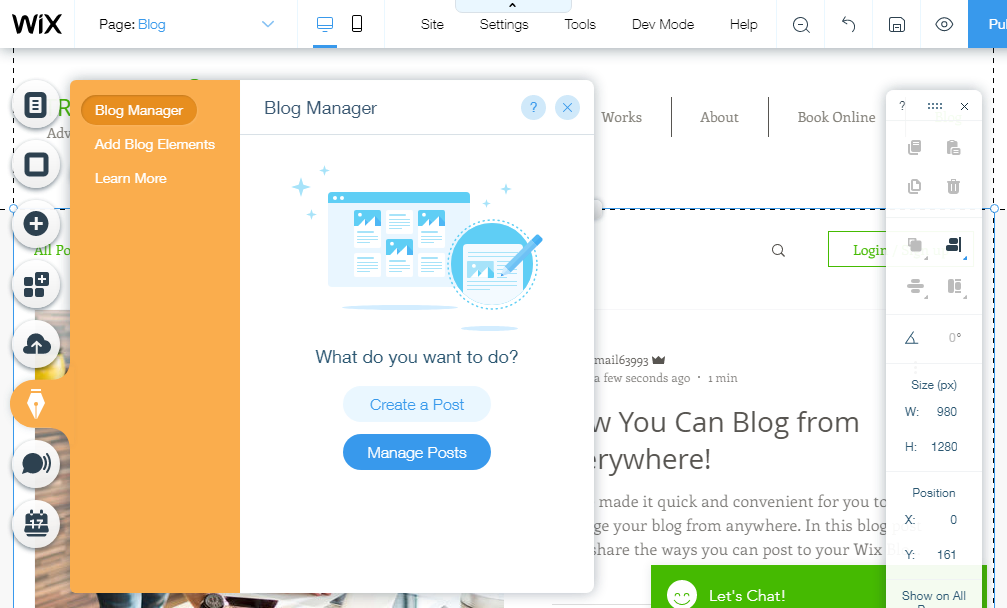
Using the above blog manager, you can create new posts, manage existing posts, and add blog elements.
Since it is your first time, hit the Create a Post button to launch the beautiful post editor shown below.
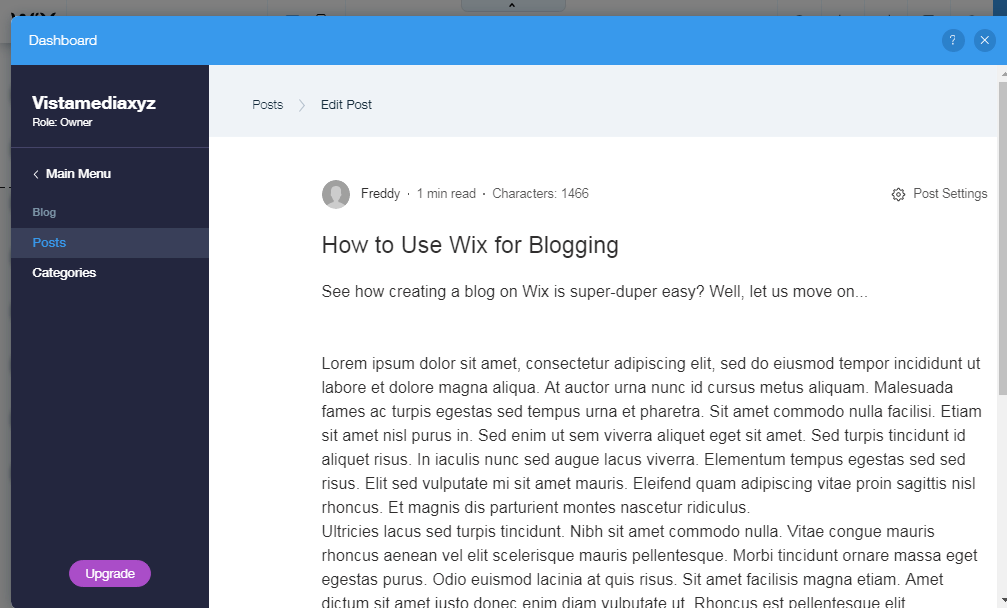
Don’t let the simple interface fool you, the above post editor is loaded with all the features you need to supercharge your posts.
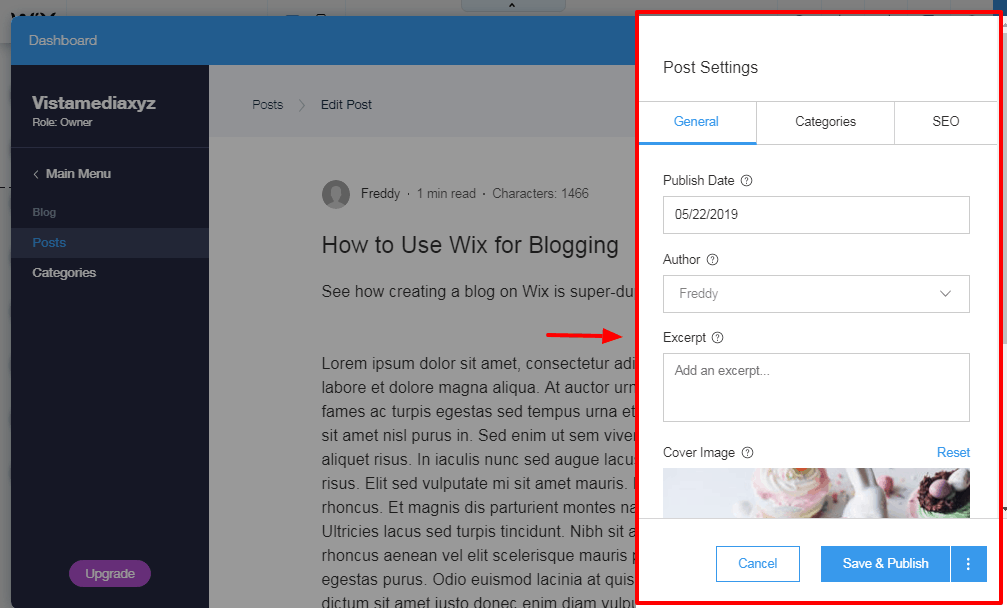
For instance, to add featured images, categories, and SEO, simply hit the Post Settings link on the right side of the post editor shown above. Doing so will launch the slide-in menu shown in the image below.
Using the Wix blog is incredibly easy I don’t expect you to run into any problems.
Every feature you’d need is out in the open you won’t have to dig much to blog like a pro. Truly, it makes blogging quite pleasurable if I may say so myself.
Note: After adding your blog, remember to click the Publish button in the Wix Editor to save your changes. Otherwise, your blog will remain unpublished.
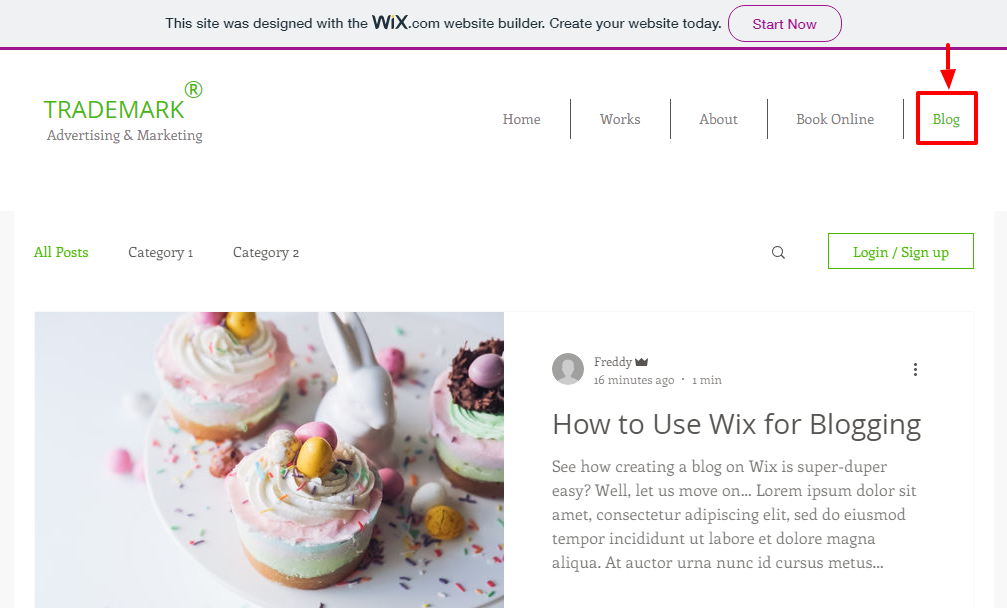
The best part is the Wix Editor will add the blog to your website’s menu automatically.
If we return to our sample site, we find out that the blog page is already in action (they even threw in a couple of sample posts for good measure). See the image below.
And that’s it!
That’s how you create a blog on Wix. Did we leave out important areas you’d like to learn more about? Please let me know in the comments and I will gladly update the post.
Remember you can customize your blog to your heart’s fill and rule the blogging jungle. We surely do hope that you soar high like an eagle on steroids.
Head over to Wix.com and get started now to get your blogging started.
Wix aside, let us learn how to create a blog using Shopify.
How to Use Shopify for Blogging
Shopify is a great e-commerce platform (see my Shopify review and find out why), but how does it stack up against the competition as a blogging platform? Here’s how you can easily create a blog on Shopify.
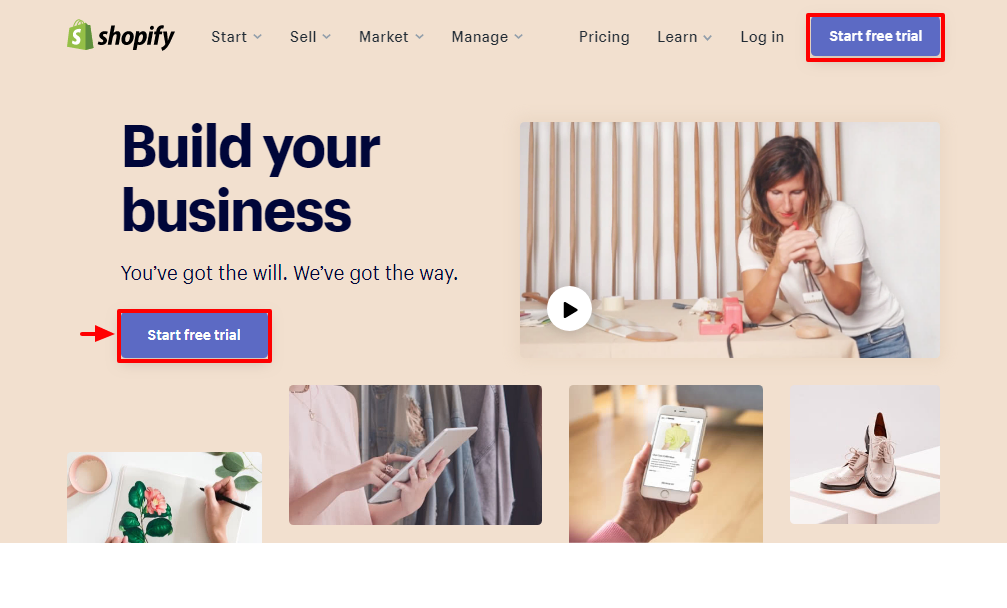
Head over to Shopify.com (I’m still assuming you’re new), and hit the Start free trial button shown below.
Next, enter your email address, password, and store name. Then hit the Create your store button as we highlight in the screengrab below.
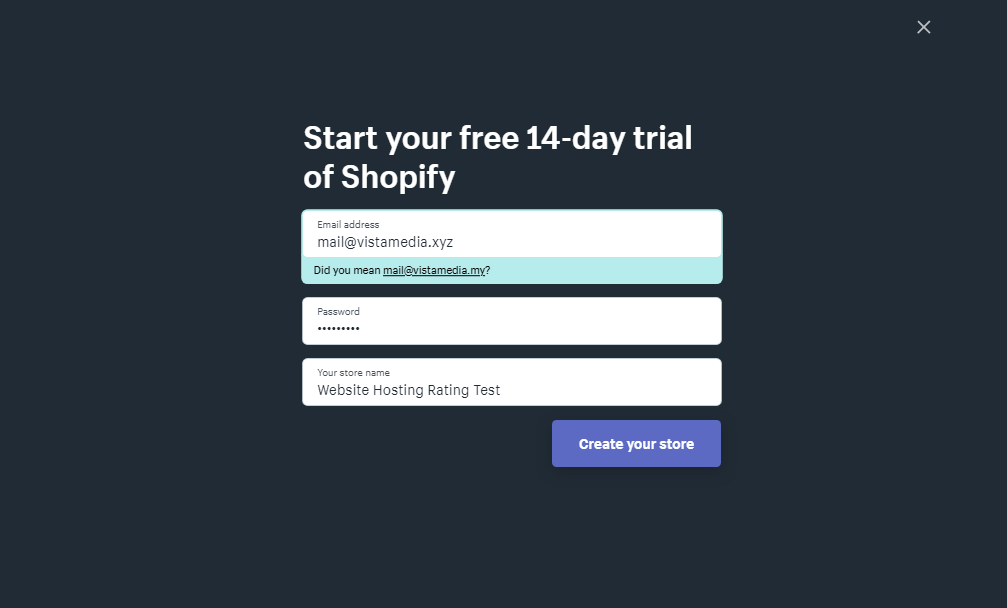
Pro tip: Get in the habit of creating strong passwords. Additionally, never use the same password across different accounts and change your password regularly.
Once your details go through, Shopify redirects you to the intro page where, like Wix, they ask for more info about your biz. Here is how that looks.
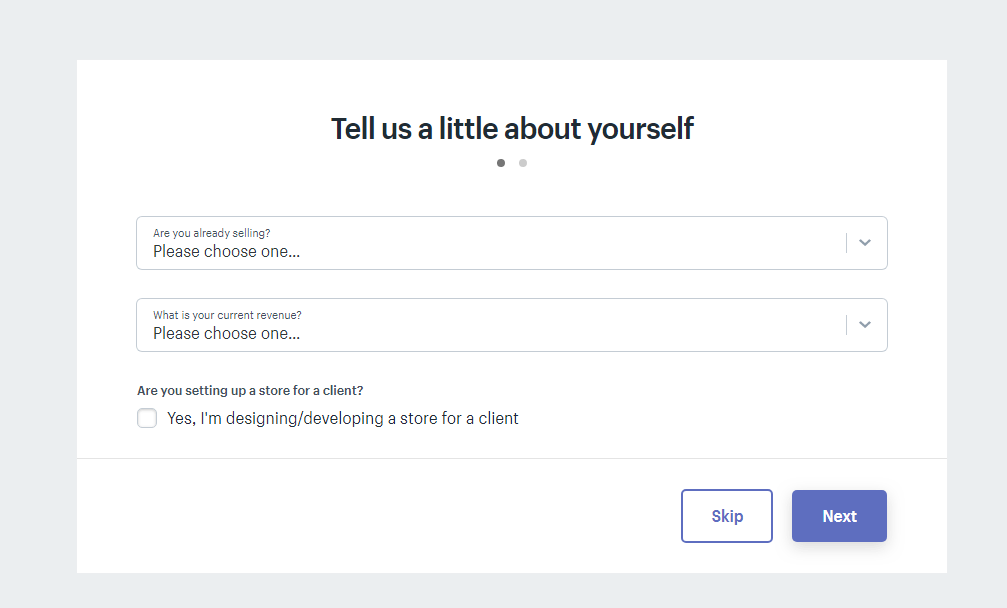
Tell them as much as you can. Alternatively, you can skip the welcome page and go straight to business.
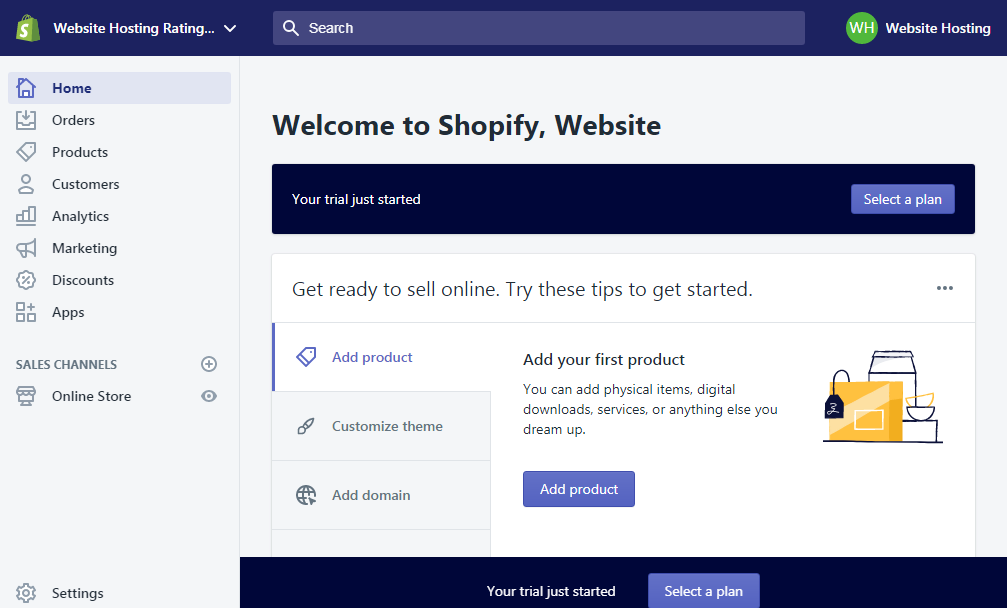
As usual, I took my time to provide as much info as I could for this tutorial. At the end of it all, you’ll get the admin dashboard shown below.
Before you do anything, login to your mailbox and confirm your email.
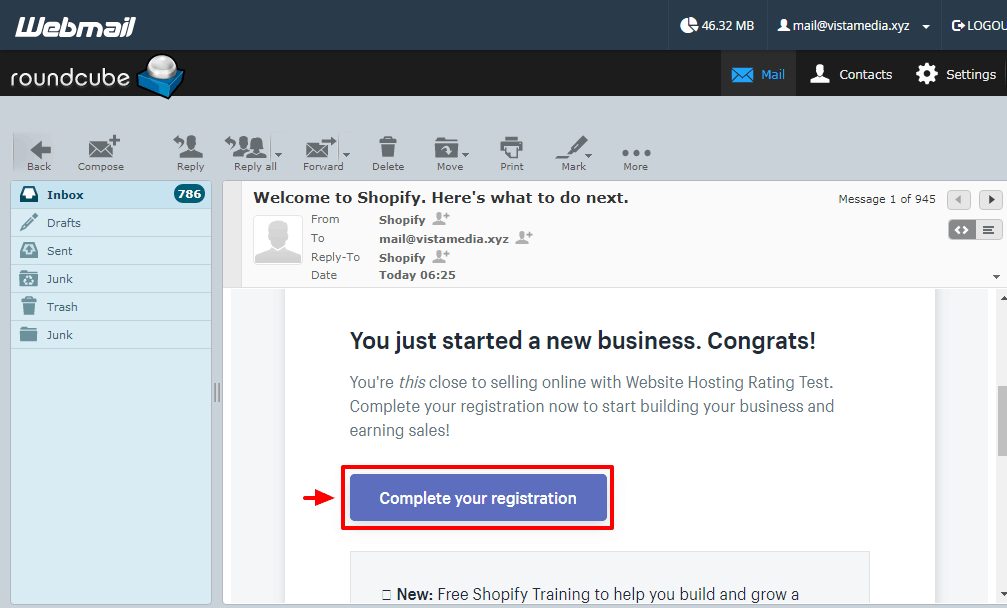
Clicking the Complete your registration button takes you back to the Shopify admin dashboard. On the admin dashboard, you can do a couple of things. You can (in numbered order):
- Start adding new products to your store
- Customize a theme
- Add a custom domain
I will briefly go over the first two areas, and then we can add a blog. Deal? Awesome 🙂
Adding New Product To Your Shopify Store
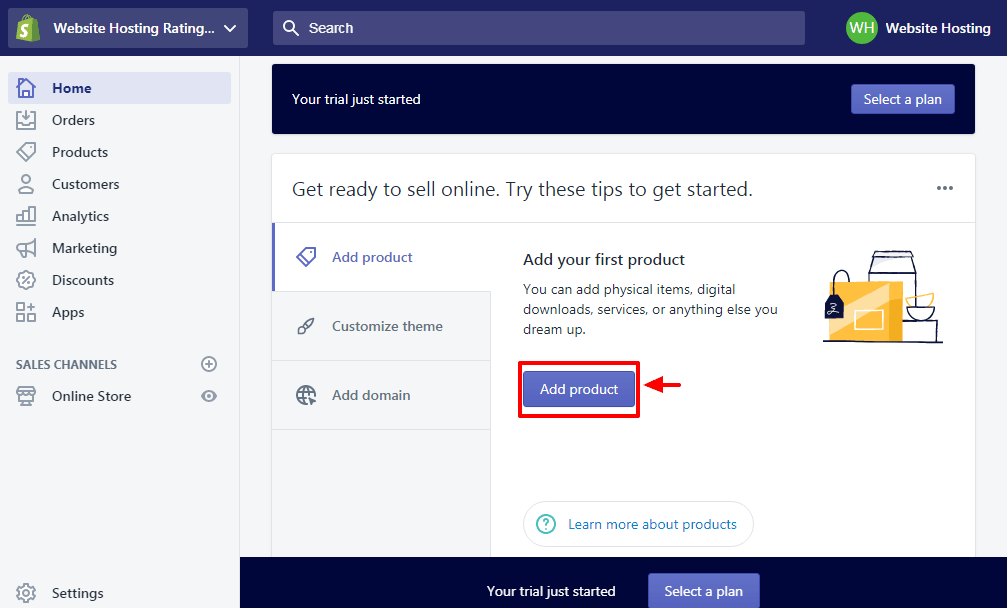
Adding a new product to your Shopify store is the stuff of fourth-graders. Simply log in to your admin dashboard, and click the Add product button as shown below.
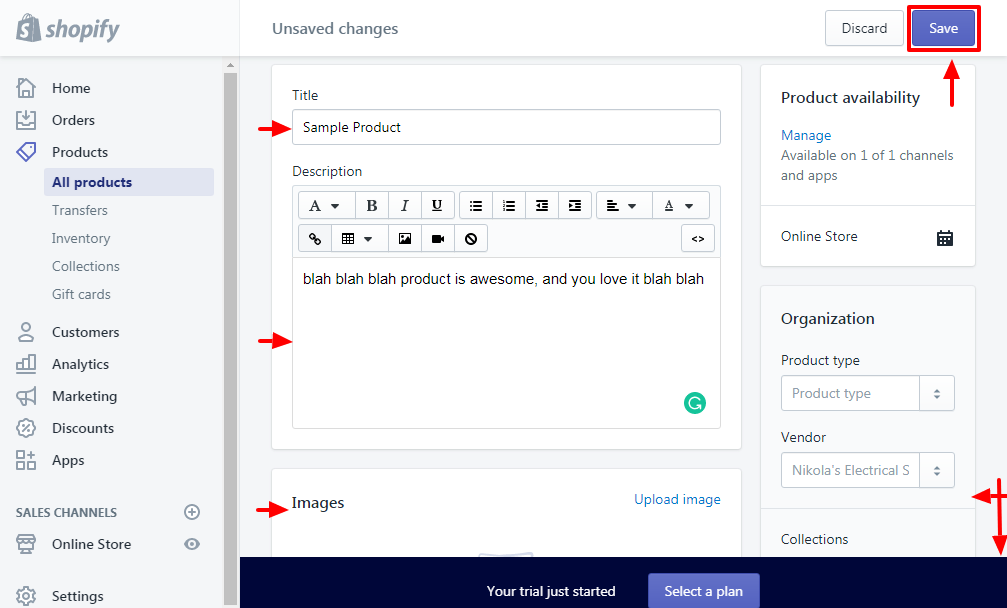
On the product editor screen that comes next, add your product details (and you can add a lot!) and then hit the Save button as shown in the image below.
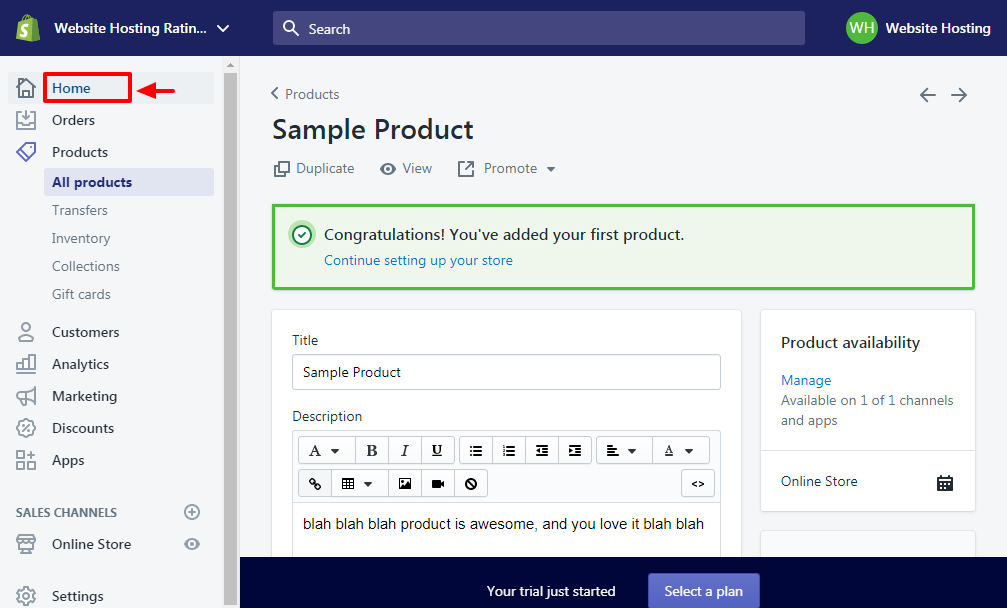
After adding your product (and you can add as many as you’d like), click on Home to head back to the admin dashboard as shown below.
Customizing Your Shopify Theme
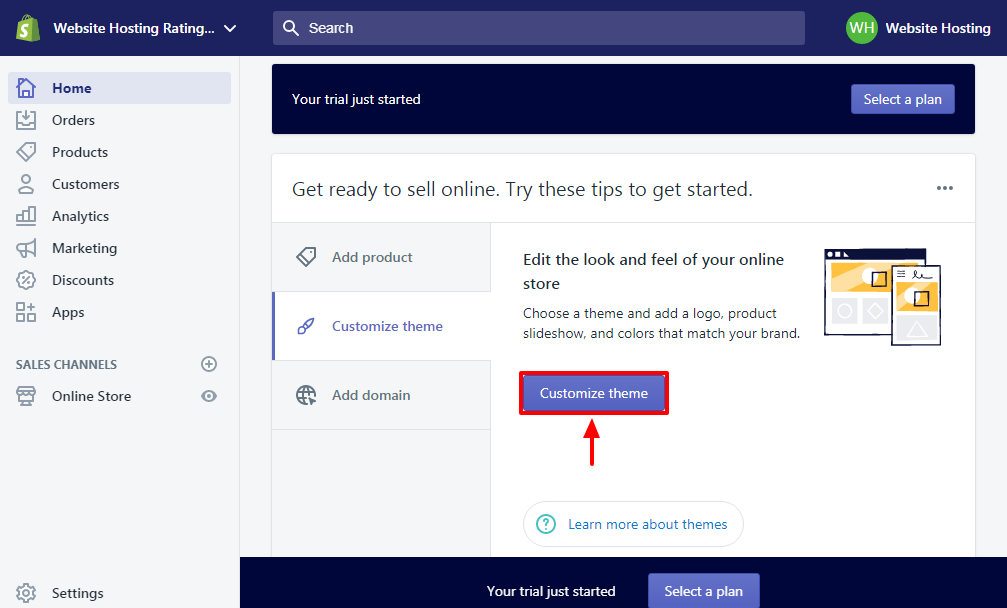
Shopify allows you to customize the look and feel of your online store without breaking a sweat. How? In your admin dashboard under the Customize theme tab, hit the Customize theme button as shown below.
Clicking the above button leads you to the Shopify Themes page, where you can choose from a selection of free and premium themes as shown below. For this tutorial, I went with free themes.
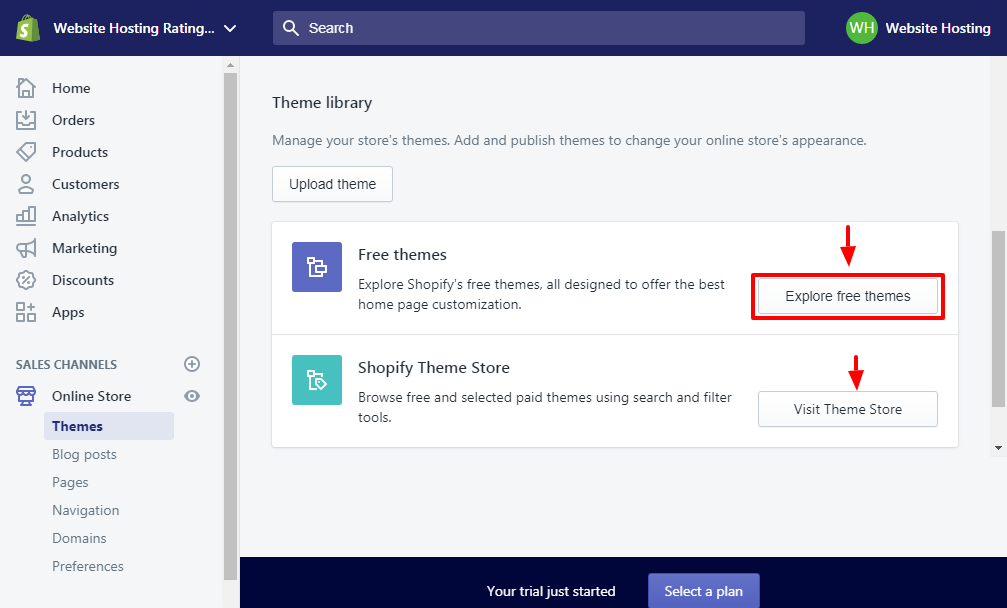
Click on the Explore free themes button to launch the pop-up shown below.
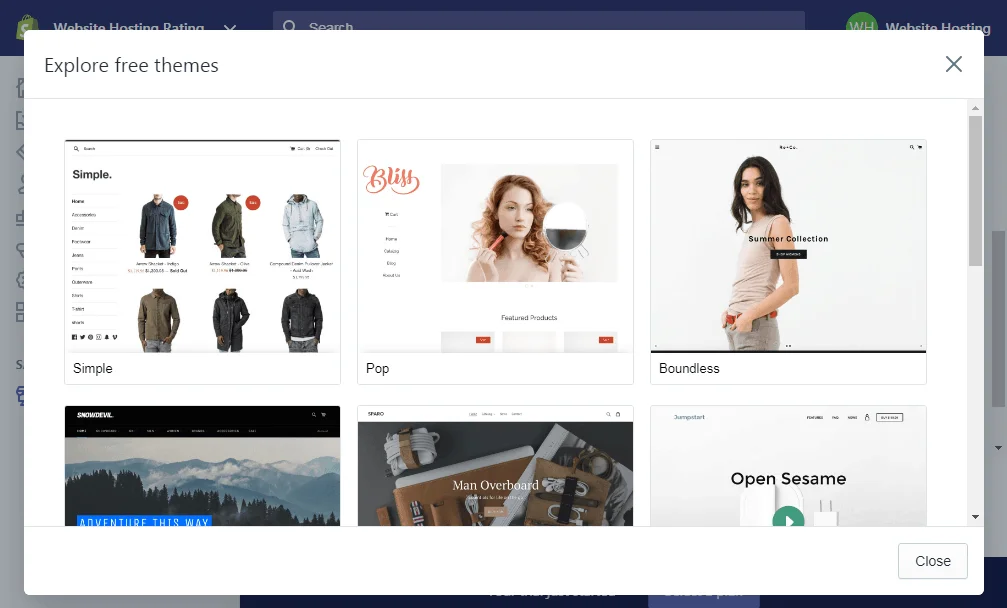
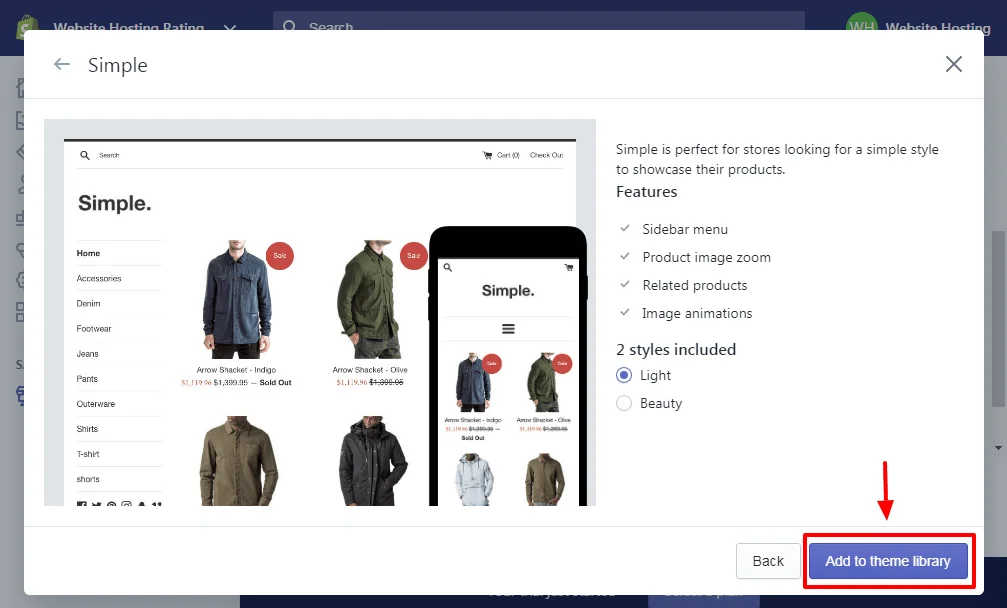
Click on a theme of your choice, and then hit the Add to theme library button as shown in the image below.
Once you add a theme to your library, you can style it by clicking on the Customize link as we detail in the screenshot below.
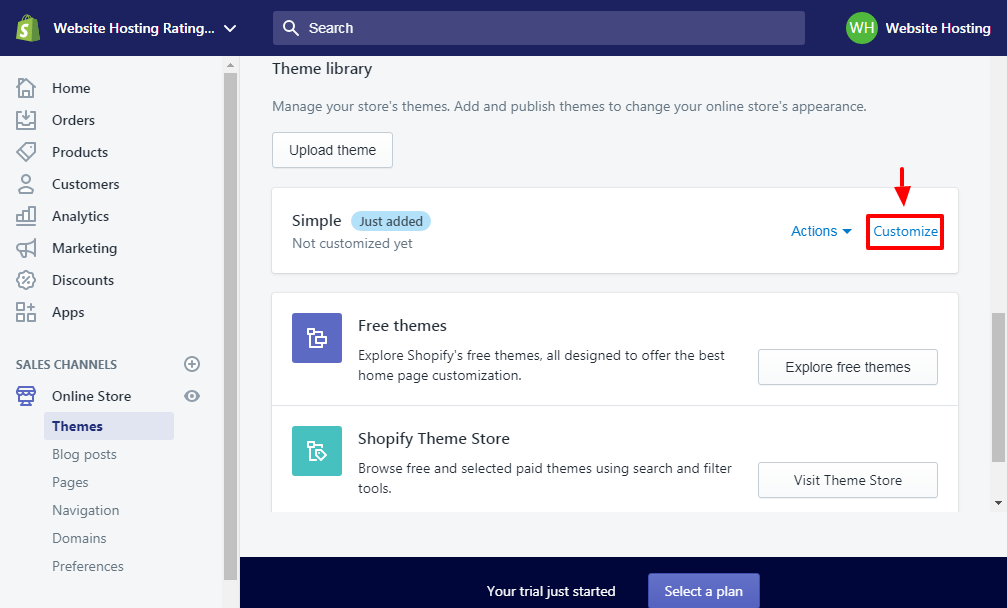
When you click the Customize link, Shopify redirects you to the easy-to-use website editor shown below.
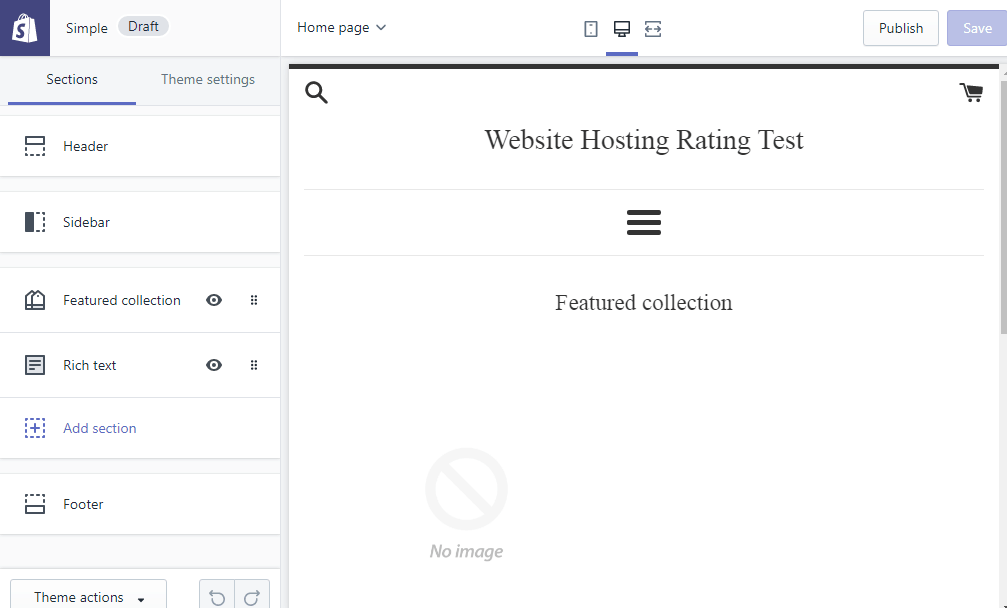
Here, you can customize your Shopify online store until you drop. Unleash your creative genius and create the store of your dreams. If the results are satisfying, hit the Publish button on the top-right side of the editor to save your changes.
Now onto adding a blog to your Shopify blog.
How to Add a Blog to Your Shopify Store
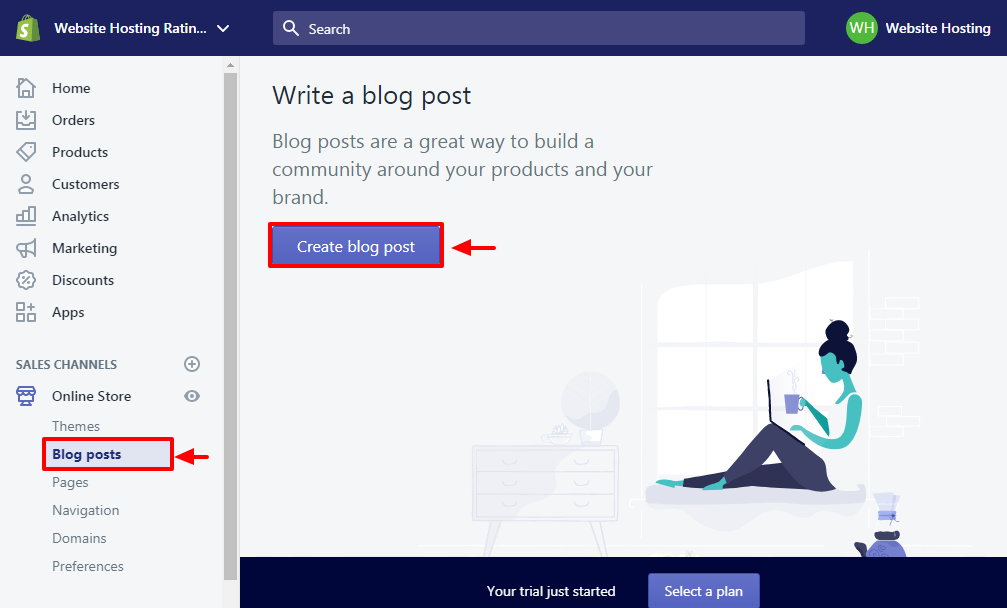
In your Shopify admin dashboard, navigate to Online Store -> Blog posts and click the Create blog post button as we highlight below.
Next, add your blog post content in the beautiful post editor as seen in the following image. Obviously, don’t forget to save your post.

The above post editor comes with all the bells and whistles of a world-class editor. You get everything from featured images, categories, SEO and so on.
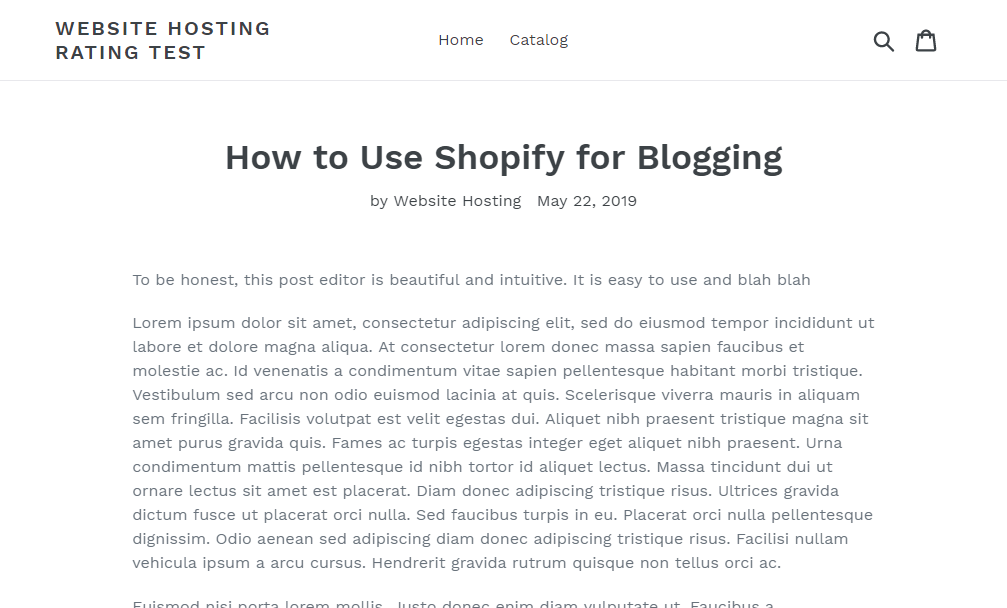
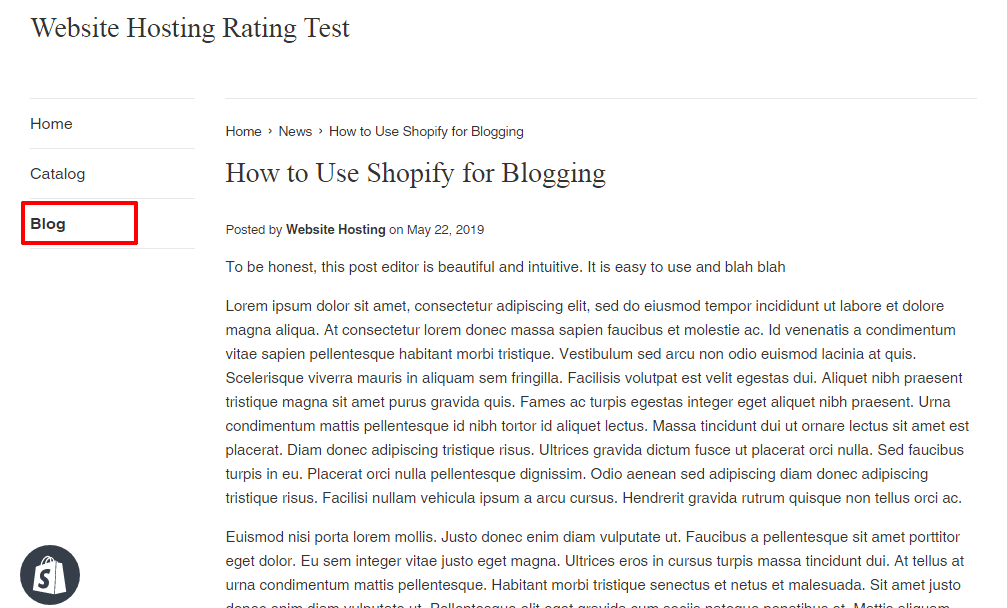
And below, is how the blog post appears on the Debut theme without much customization.
That was easy, right? Sadly, unlike Wix, you must add your blog to your own navigation menu. How?
In the Shopify Editor, choose the section where your navigation menu is located as shown in the image below.
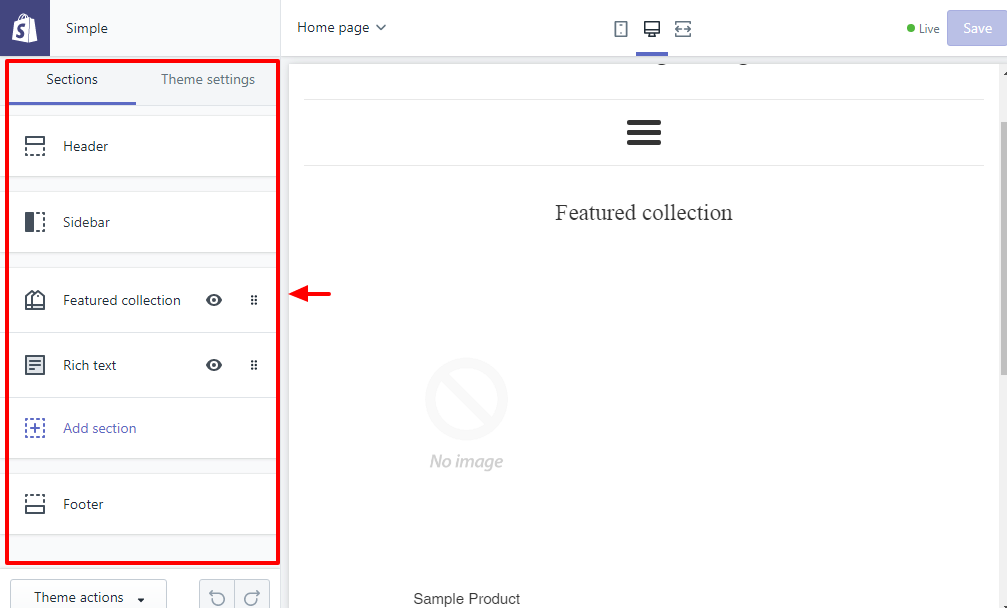
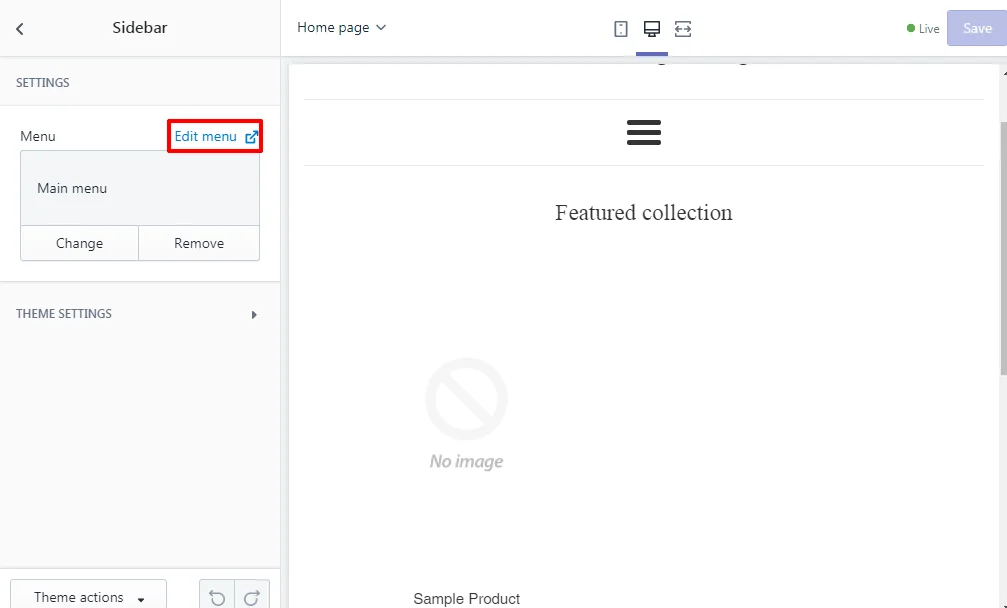
For this tutorial, I am also working with the Simple theme, so my menu is in the Sidebar. I choose the Sidebar section, and then click the Edit menu link on the Menu tab as shown below.
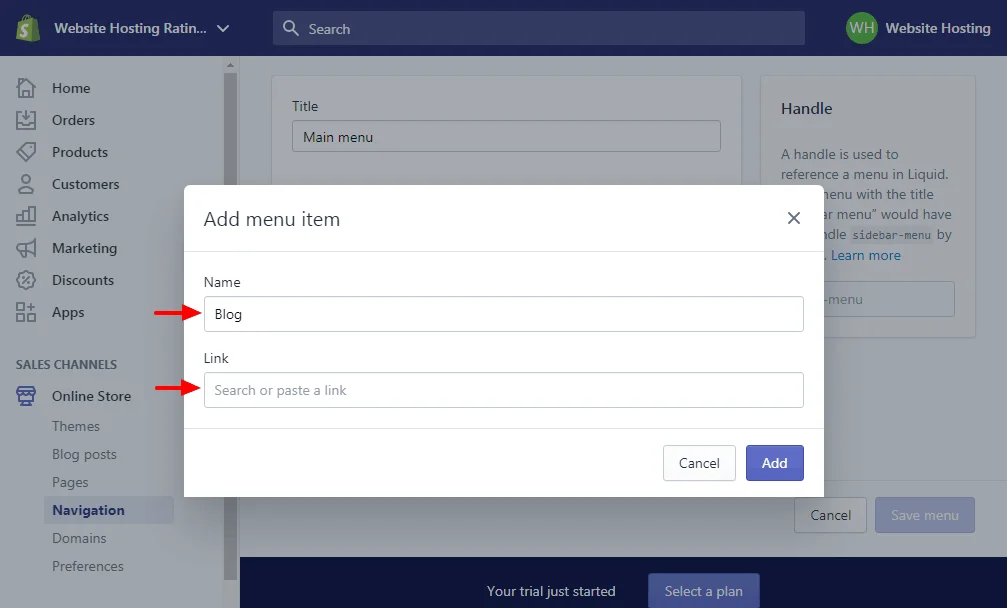
Doing so opens the Navigation page in a new tab. Next, click Add menu item as shown below.

On the pop-up that appears, add your blog name e.g. Matt’s Blog, and then choose the link type from the Link drop-down menu as shown below. Note: You must choose Blogs to add a link to your blog.
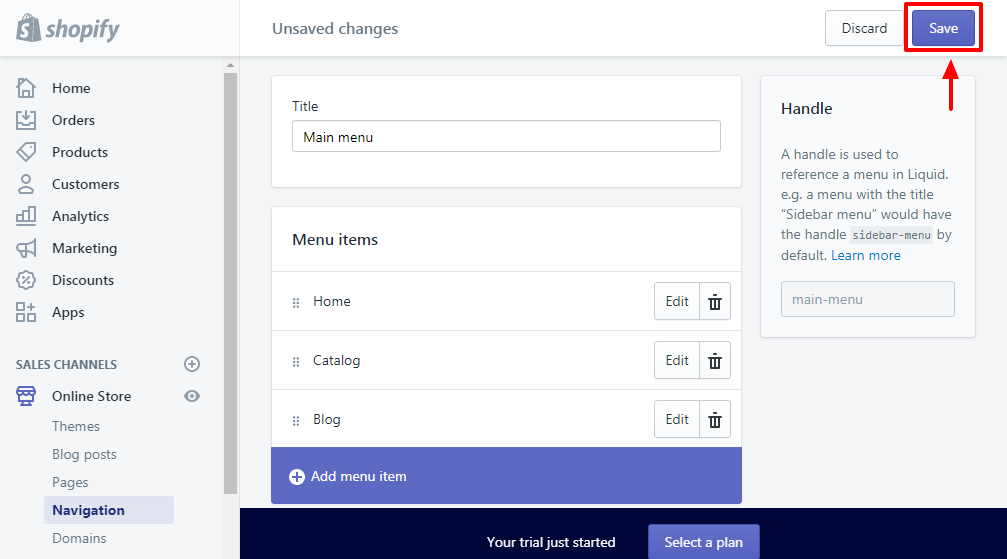
Finally hit the Add button. Then, hit the Save button as shown below and your work is done.
Wow, what a complicated way of adding a simple menu item? Now, if we go to our sample site, the Blog menu item is right where we wanted it. See the image below.
Head over to Shopify and get your blog started now!
Phew, this turned into a very long blog post; anyway I hope you learned something here today.
Summary – How To Blog on Wix and Shopify?
WordPress and Blogger are popular blogging platforms without a doubt, but if you started on Wix or Shopify, you needn’t move elsewhere to create a powerful blog.
Wix and Shopify come with powerful blogging capabilities that will make creating a blog a breeze. If you play your card rights, you might never look the WordPress way ever again.
Did I leave out something important you’d like to learn? Do you have questions or suggestions? Please let us know in the comments. Cheers to creating a successful blog on Wix or Shopify!